

Making homemade mustard is one of the most rewarding and surprisingly easy kitchen experiences. If you, like me, love the spicy and complex flavor of this condiment, but are wary of labels full of preservatives and ingredients we can barely pronounce, this recipe is for you.
Preparing your own homemade mustard opens up a universe of possibilities. You control the intensity of the heat, the level of acidity, and can even add your favorite spices. Forget that bland, industrial yellow mustard; we’re talking about a deep, rustic, and vibrant flavor.
It’s a simple alchemy: seeds, an acidic liquid, and a little patience. The result completely transforms a simple sandwich, a salad dressing, or that weekend roast.
Let’s uncover the secrets to making the perfect homemade mustard together. Grab your glass jar, because the magic is about to begin!
Our Base Homemade Mustard Recipe
This is my classic recipe, a perfect starting point. It balances the heat of the dark seeds with the mildness of the yellow ones, creating a homemade mustard in the “l’ancienne” (old-fashioned) style, lightly grainy and full of personality.
Ingredients
- 1/2 cup yellow mustard seeds (they provide the base)
- 1/2 cup dark mustard seeds (brown or black, they bring the heat)
- 1/2 cup good quality apple cider vinegar
- 1/2 cup filtered water (or light beer, for extra flavor!)
- 2 tablespoons of honey or molasses (to balance)
- 1 level teaspoon of sea salt
Instructions
- The First Step: Hydrate! In a glass container with a lid, mix the two types of mustard seeds (yellow and dark) with the vinegar and water. Don’t worry about stirring too much, just ensure all the seeds are submerged.
- Patience (The most important part) Cover the container and leave it at room temperature (away from the sun) for at least 24 hours. The ideal? Let it rest for 48 hours. This process hydrates the seeds and, most importantly, activates the enzymes that create the characteristic heat of mustard.
- Time to Blend After resting, you’ll see that the seeds have absorbed almost all the liquid and are softer. Transfer this mixture to a blender or food processor. Add the honey (or molasses) and salt.
- Defining the Texture This is where your personal taste comes in!
- For a rustic mustard (L’Ancienne): Pulse the blender just a few times. We only want to break some of the seeds, keeping most of them whole.
- For a creamier mustard: Blend for longer, until you reach the desired consistency. If you find it’s too thick, you can add 1 or 2 tablespoons of cold water to help it blend.
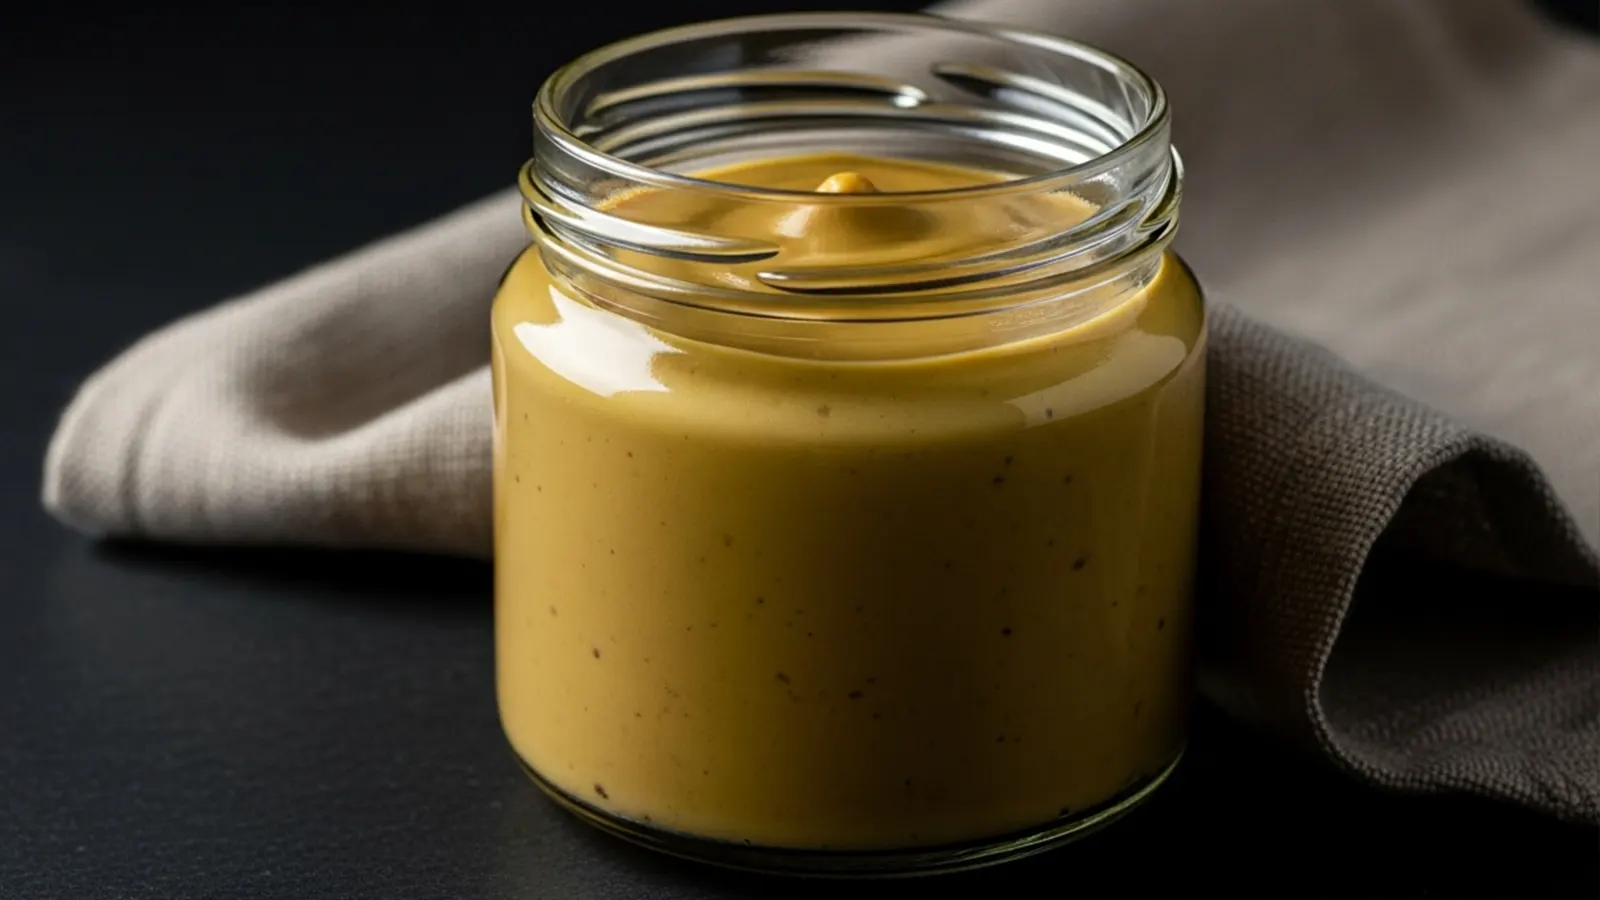
- Maturation (The Final Secret) Transfer your homemade mustard to a sterilized glass jar with a good seal. Taste it. You will notice it is VERY spicy and perhaps a bit bitter. This is normal! The mustard needs to “cure”.
Store in the refrigerator for at least 3 days before consuming. Ideally, wait one week. During this time, the bitterness disappears and the heat mellows, giving way to a complex and delicious flavor.
Natelie’s Golden Tips
- Control the Heat: The “burn” of mustard comes from a chemical reaction. If you use cold water or vinegar, your mustard will be spicier. If you use warm liquids, it will be milder. Never use hot liquids, as they “cook” and destroy the enzymes responsible for the heat.
- Adjust the Acidity: Vinegar stabilizes the heat. If you want an extremely strong mustard, let the seeds hydrate in only water for 24h and only add the vinegar when it’s time to blend.
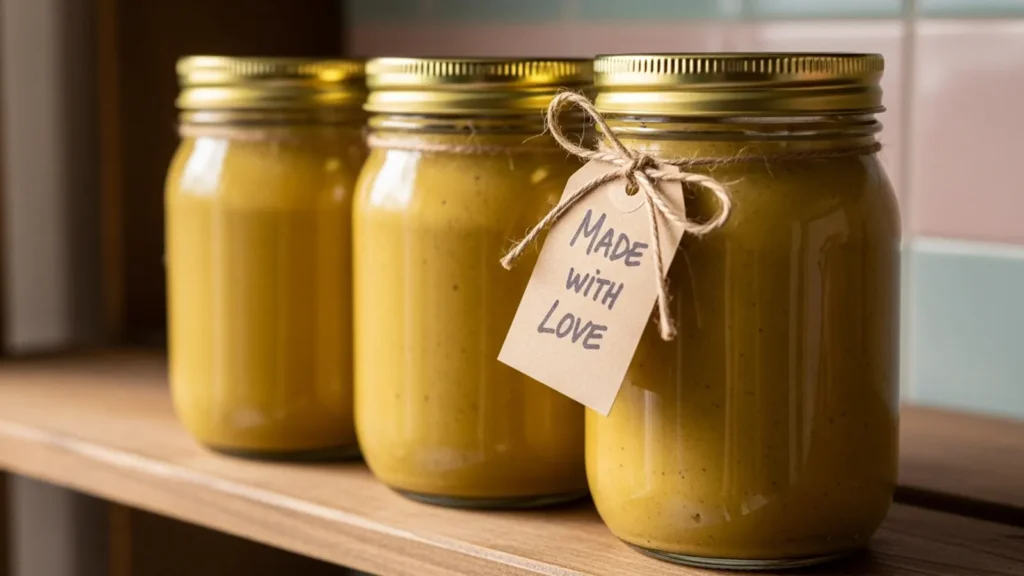
- Sterilization is Key: Since we are not using artificial preservatives, it is essential to store your homemade mustard in well-sterilized glass jars. This ensures it will last for months in the refrigerator.
- Don’t Be Afraid to Taste: The base recipe is a guide. After blending, taste it. Does it need more salt? An extra touch of honey? Adjust without fear!
Why Make Your Own Homemade Mustard?
I’m biased, but the advantages of making homemade mustard go far beyond saving money (which also happens!).
Incomparable Flavor
The flavor of fresh mustard, made with good ingredients, is vibrant. You can feel the “heat” of the seeds, the acidity of the vinegar, and the balance of the sweetness. Store-bought versions often rely on flavorings and excess vinegar to compensate for the lack of real seed flavor.
You are in Total Control
When making your homemade mustard, you are the chef. Want a mustard with dark beer? Go for it! Prefer to use white wine instead of vinegar, like in Dijon? Perfect. Want to add turmeric for a vibrant yellow color? Yes! You create the product exactly for your palate.
Free of Additives
No artificial colors, no preservatives, no gums or thickeners. Your homemade mustard will only have what you put in it: seeds, vinegar, water, and spices. It’s real food, simple and pure.
Delicious Variations for Your Mustard
Once you master the base recipe, the sky is the limit. The process for making homemade mustard is always similar: hydrate, blend, and mature.
Homemade Honey Mustard
This one is a classic! For a more pronounced “Honey Mustard” version, increase the amount of honey in the base recipe. Start with 1/4 cup of honey and taste as you go. It’s incredible with chicken and in salad dressings.
Yellow Mustard (American Style)
Want that classic hot dog mustard, but healthy? The secret is to use only yellow mustard seeds (they are milder). When blending, add 1 teaspoon of turmeric powder (for the bright yellow color) and 1/2 teaspoon of sweet paprika. Blend very well in the blender until completely smooth.
Dijon Mustard (Homemade Version)
Authentic Dijon uses verjus (green grape juice), but we can imitate it by swapping the apple cider vinegar for a good quality dry white wine. Use only dark (brown) mustard seeds for a more intense and spicy flavor. Blend until very smooth. This is a potent homemade mustard!
Mustard with Herbs
When blending your base recipe, add a handful of fresh herbs. Dill is divine, as are rosemary or tarragon.
How to Use and Store Your Homemade Mustard
Now that your pot of spicy gold is ready, how do you make the most of it?
In the Kitchen
Homemade mustard is much more versatile than we think.
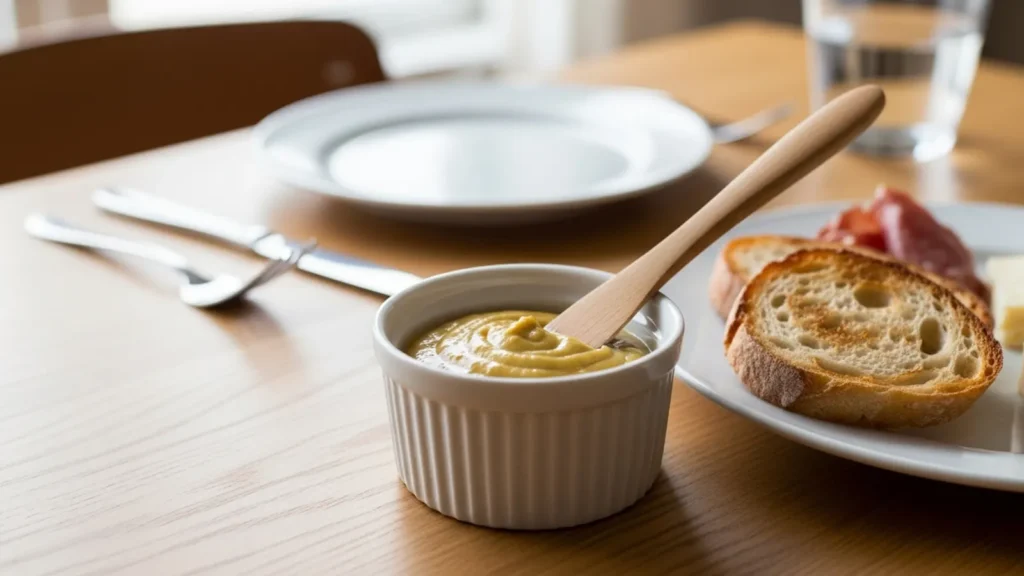
- Salad Dressings: It’s the perfect emulsifier. Mix a teaspoon of your mustard with olive oil, lemon, salt, and pepper for the easiest vinaigrette in the world.
- Marinades: It tenderizes meat and adds an incredible layer of flavor. Use it on pork loin, chicken, or even on vegetables before roasting.
- Sandwiches and Burgers: Here it is queen. It elevates any grilled cheese sandwich to a gourmet level.
- Finishing Dishes: A spoonful of homemade mustard at the end of a meat sauce or in mashed potatoes changes everything.
Storage and Shelf Life
Homemade mustard is a natural preservative. Mustard seeds have antimicrobial properties, and the vinegar creates an acidic environment where bacteria do not proliferate.
If you used sterilized glass jars and have always kept it refrigerated, your homemade mustard can easily last for 6 months or more in the refrigerator.
In fact, its flavor evolves. Over time, the initial strong heat tends to mellow, giving way to more complex and rounded flavors. A homemade mustard that has been in the fridge for 3 months is usually at its peak!
The Kitchen is Your Laboratory
I hope you’re excited to try your own homemade mustard. It’s a delicious project, one that perfumes the kitchen and brings a great sense of pride in saying: “I made this!”.
Start with the base recipe, feel the texture of the seeds, and play with the spices. You will discover a new hobby and, certainly, you will never want to buy store-bought mustard again.
READ ALSO:
- Learn to Make the Incomparable Uruguayan Chimichurri Brine
- Creamy Chicken Pasta: A Creamy and Irresistible Recipe
- Creamy and Irresistible Four Cheese Stroganoff
- Viral Crunch Cake: Make This Chocolaty Dessert
COME JOIN OUR RECIPE GROUP
WE ARE ON PINTEREST
I hope you enjoyed it.